I am baking this bread with a futuristic vision of new technology capable of transmitting not only images or sounds, but also smells through a computer. This bread would definitely be my first candidate for trying it out. However nice a store bought bread may be, nothing beats the smell in your kitchen as your bread is getting closer and closer to being done. And what’s better, you can make this bread with only 5 minutes of your time.
I think a lot of people feel intimidated by sourdough baking. The most common concern is that it’s too complicated, that caring for the starter and baking from it requires too much effort and time. I would like to show you that this doesn’t have to be the case. Of course, there are many recipes for amazing sourdough loaves that really do require a fairly high level of attention and you do need to know how to use the right kneading techniques at the right time, have the right flour, or ferment the bread at exactly the right temperature.
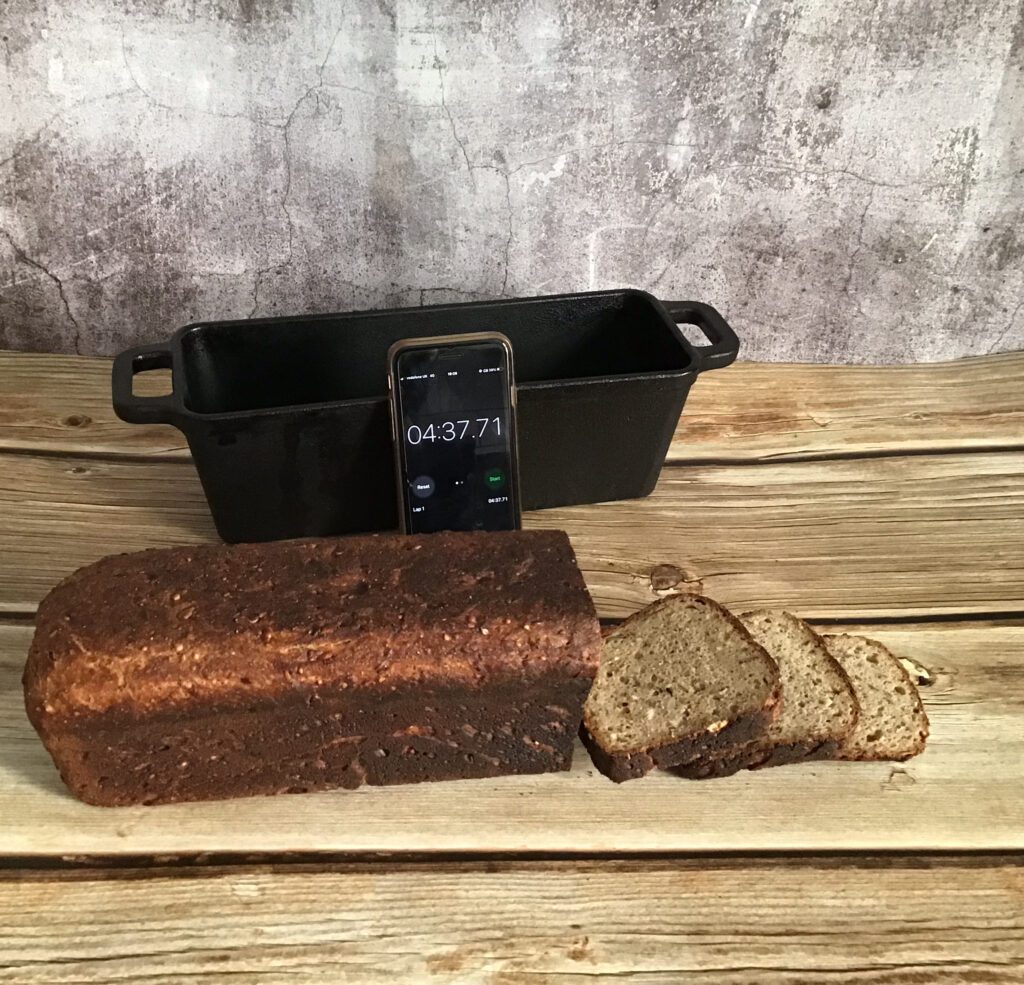
My recipe isn’t like that, and even my five-year-old daughter can follow it to bake sourdough. I’ve timed the active preparation several times, and I’ve never gone over 5 minutes. It’s very adaptable – you can use any type of flour. When I say any, I of course mean any flour of good quality, not your standard bleached white flour, which is happens to be a big nutritional nothing. In the basic version, just use good whole grain flour, but feel free to combine it with rye or spelt flour. Feel free to get creative with what you add as well, or you can bake a “pure” bread just from flour, water, and salt. Our favorite version is either with caraway seeds, poppy seeds or a mix of pumpkin and sunflower seeds.
Sourdough bread is much healthier than regular bread. So if it only takes 5 minutes to make, I see no reason not to try it! Have a read of the list of ingredients on the labels of supermarket breads. I’ve seen some with as many as 20 ingredients. You will only need three.
If you are complete sourdough beginners, I highly recommend getting a starter from someone who already uses it. I bet you have someone like that in your area, or you can even find contacts through local Facebook groups. It’s much easier than starting a starter from scratch – it’s a process that takes more than a week, and it’s always better to bake with a “mature” starter than with a brand new one. This way, you’ll achieve great results faster and avoid disappointment. Once you have your starter, let me mention the basics of “caring for” it. There are many different methods and approaches, but I find the simplest one is as follows: store the starter in the fridge in a clear glass container – any jam jar works great. On the day you plan to bake bread, take it out onto the counter in the morning, feed it about 25g of flour and 25g of room temperature water, and let it ferment at room temperature. In about 6-8 hours, it will be ready for action – you will see that the level has risen and you’ll be able to see bubbles through the glass container. After taking out as much as needed for the recipe, you can return it to the fridge, where it will patiently wait for the next bake. If you’re interested in a more detailed article about the starter and all its amazing potential, comment below.
So prepare your starter that is now fed and happy, flour, salt, and seeds if you want to use them. Mix the flour with the salt and seeds. If you have a bowl that is see through – typically clear plastic or glass – use it.
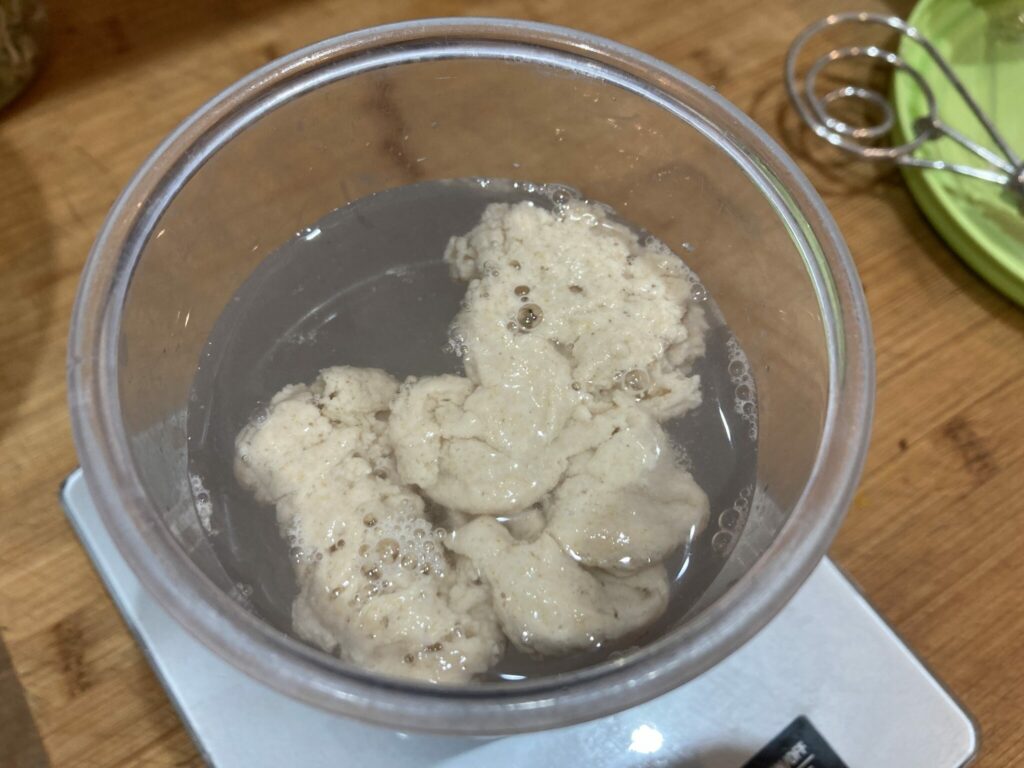
In a separate container, mix the starter with water. It will most likely float in the water at first – this is a sign that it is well-fed.
Pour the starter water into the bowl with your flour and mix. I use a special dough mixing tool called “danish whisk”, but any ordinary wooden spoon or rubber spatula will do.
Cover the container and there you are – you have completed about 90 percent of the work now. Now let the dough sit on your counter. The proofing time will depend on the temperature. At average room temperature, I find about 12-16 hours works well. Usually, my process looks like this: I feed the starter in the morning, mix the dough in the afternoon or evening, and bake the next morning. Of course this is flexible. The shedule can be adjusted, for example feeding the starter in the evening, mixing into the dough in the morning, and baking in the evening.
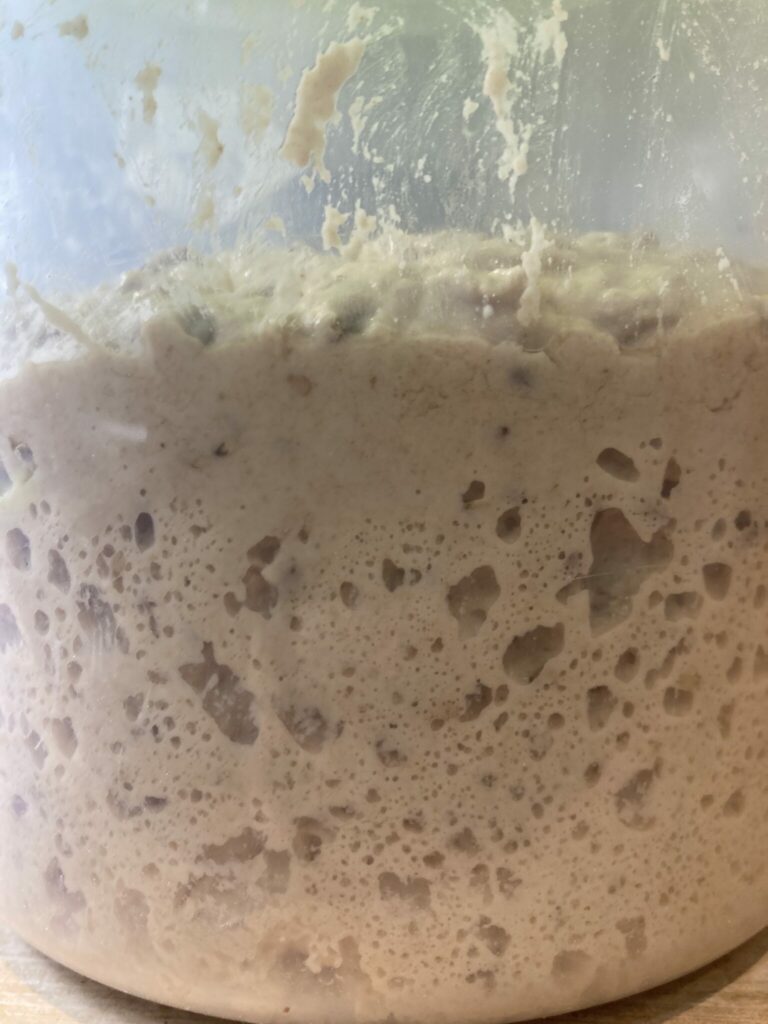
The dough is ready when you see bubbles on the side of the container and generally it appears more voluminous and puffy.
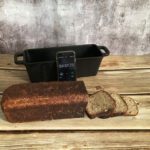
The moment you declare it ready, start preheating your oven. Transfer the dough to your bread baking tin, where it can wait until the oven is hot enough.
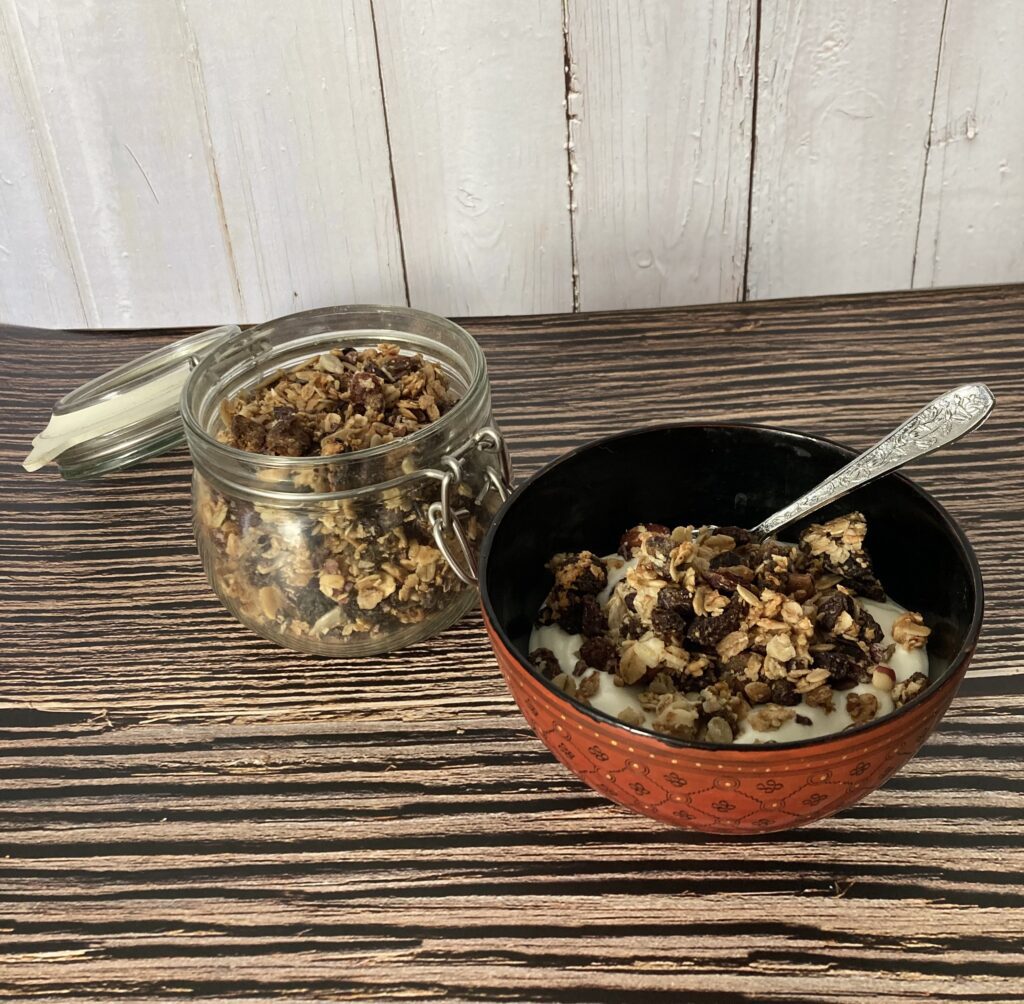
Bake until it is all beautiful and golden and your entire house smells irresistible. If you can help yourself, don’t cut into it straight away and let it cool first – the crumbs will have time to “set” and you’ll achieve a nicer texture.
Sourdough bread
Ingredients
- 650 g Wholemeal flour
- 15 g Salt
- 50 g Sourdough starter
- 650 g Water
Optional
- 60 g Mixed seeds
Instructions
- In a large (ideally see-through) bowl, mix the flour with the salt and seeds, if you’re using them.
- In a separate container, measure out your water, set it over a scale and add your starter. Mix well.
- Pour the water into your flour mix and combine well.
- Cover the bowl and let sit at room temperature for 12-16 hours, until the level has visibly risen and you can see bubbles in the dough.
- When the dough is ready, transfer it to your baking tin and start preheating your oven to 250°C.
- When the oven reaches its target, move your tin into the oven and bake for 45-50 minutes, until the crust is a dark golden color. If you have a tin with a lid, remove it around the 35-40 minute mark and bake lid-free for the remaining 10 or so minutes.
- Tip the bread out of the tin and let cool.

I am a mother of three with a passion for cooking and healthy lifestyle. My goal is to show all families that it’s actually really simple to cook healthy, everybody can eat great food, feel great and never stress about food.